🛠️ Welcome to Tech Behind Tools - Build Smart. Choose Right.
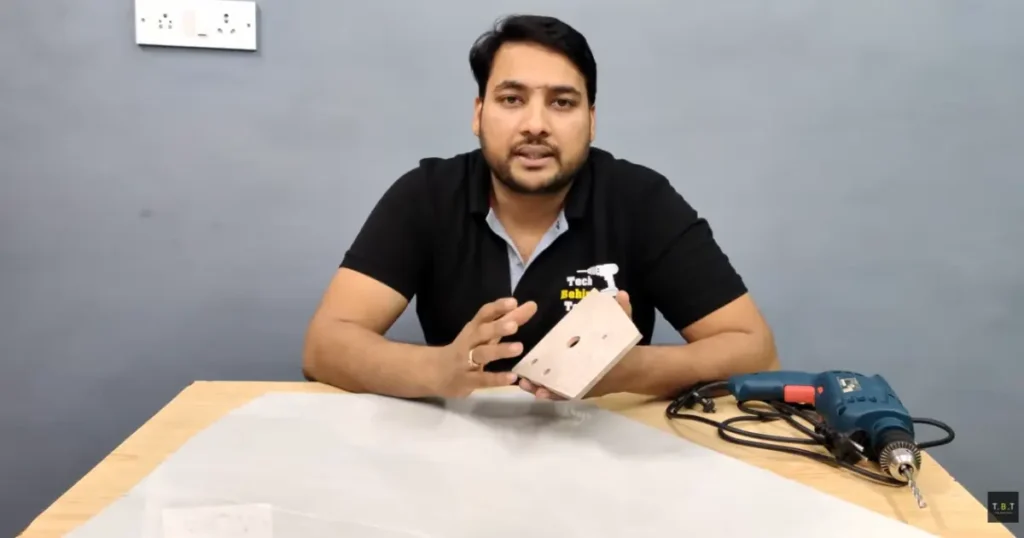
How To Drill Ceramic Tiles Without Cracking Them
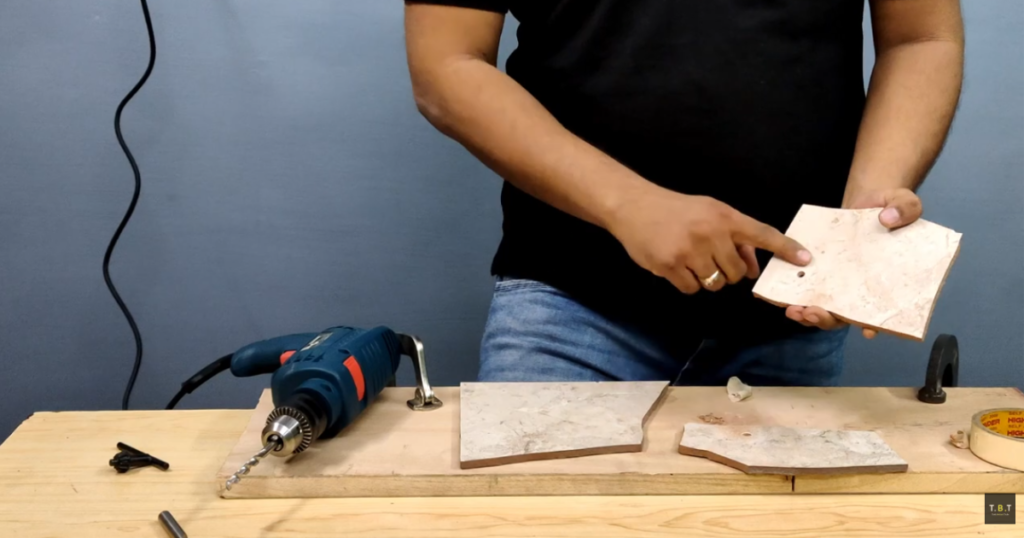
Tools & Materials You’ll Need
Before you begin, gather the following tools and materials:
- Masonry Drill Bit
- Cordless or Corded Drill
- Masking Tape
- Marker or Pencil
- Wall Plug (Optional)
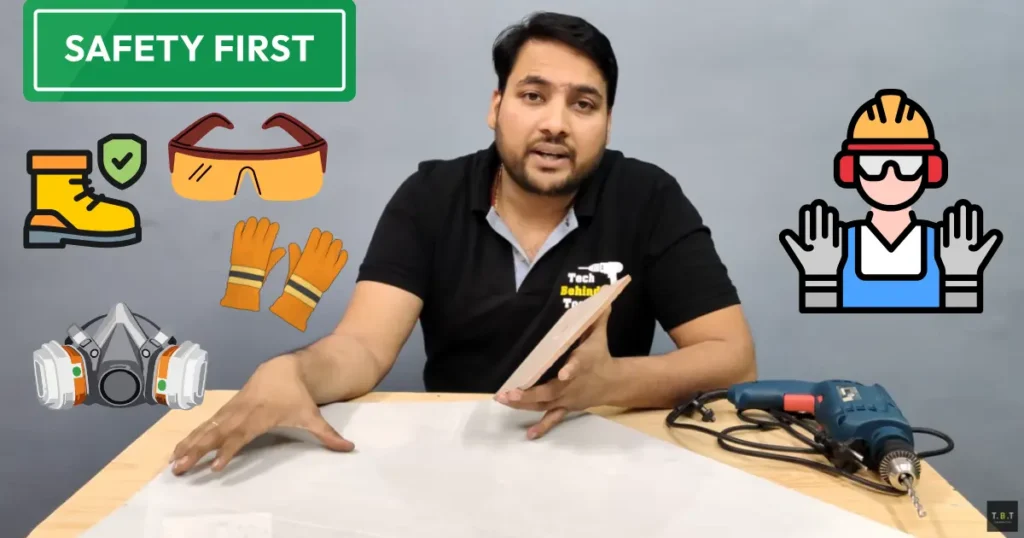
- Safety Glasses
Using the correct tools will make drilling easier, safer, and help prevent the tile from cracking.
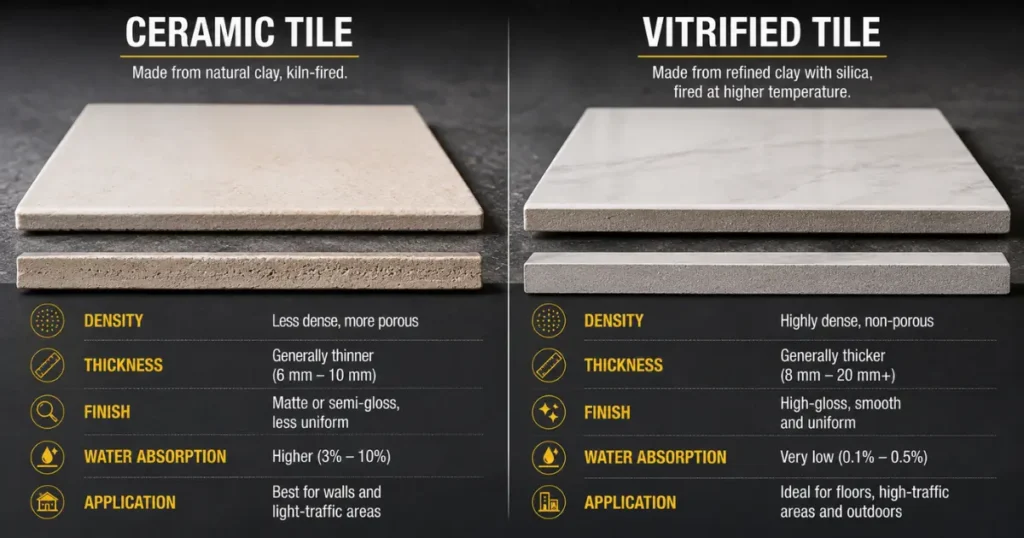
Ceramic Tiles vs Vitrified Tiles
Many people assume all tiles drill the same way, but that’s not true.
Ceramic tiles are generally softer and easier to drill because they are primarily made from clay. Vitrified tiles are denser and harder, which makes drilling more challenging and often requires diamond drill bits.
Why Tiles Crack During Drilling
Many people assume all tiles drill the same way, but that’s not true.
Ceramic tiles are generally softer and easier to drill because they are primarily made from clay. Vitrified tiles are denser and harder, which makes drilling more challenging and often requires diamond drill bits.
Choosing The Correct Drill Bit
HSS Drill Bits
High-Speed Steel (HSS) drill bits are designed primarily for:
- Metal
- Wood
- Plastic
Although they may scratch the surface of a tile, they are not designed for ceramic materials and often struggle to penetrate the hard glazed surface. Using an HSS bit can increase drilling time and may damage the bit.
Masonry Drill Bits
For most ceramic tiles, a masonry drill bit is the best choice.
The carbide tip is designed to cut through brittle materials while minimizing the risk of chipping and cracking. When combined with low speed and proper technique, a masonry bit can create clean and accurate holes in ceramic wall and floor tiles.
Diamond Tile Bits
Diamond-coated drill bits are typically used for harder materials such as:
- Vitrified Tiles
- Porcelain Tiles
- Glass
- Natural Stone
While they can also be used on ceramic tiles, they are usually not necessary unless you’re creating larger holes or working with particularly hard tile surfaces.
Step 1: Mark The Hole Location
Before drilling, take a few moments to accurately mark the hole location. This simple step can prevent costly mistakes and ensure that shelves, mirrors, towel holders, or other fixtures are installed correctly.
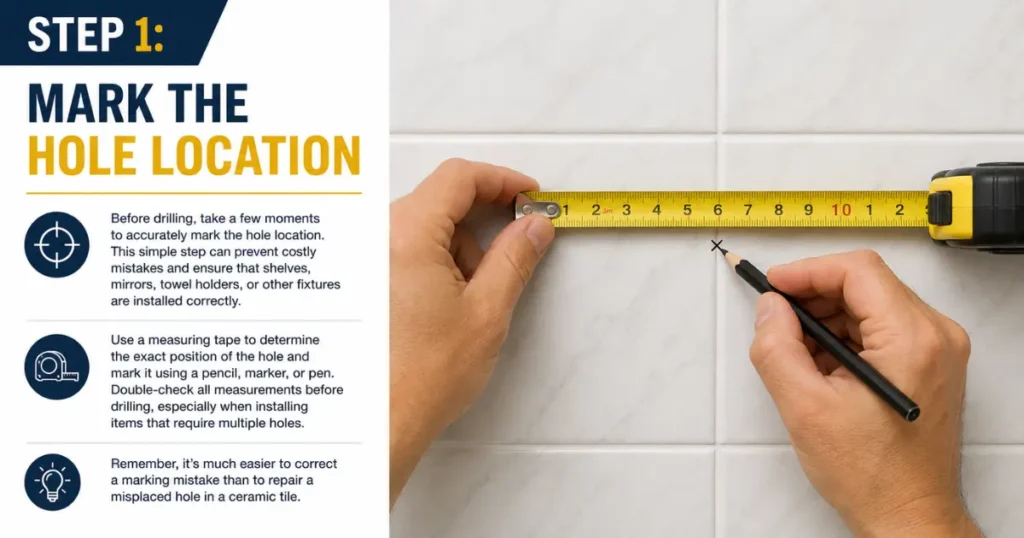
Use a measuring tape to determine the exact position of the hole and mark it using a pencil, marker, or pen. Double-check all measurements before drilling, especially when installing items that require multiple holes.
Remember, it’s much easier to correct a marking mistake than to repair a misplaced hole in a ceramic tile.
TBT Pro Tip
If you’re drilling multiple holes for brackets, shelves, or bathroom accessories, use a spirit level to ensure all markings are perfectly aligned before you start drilling.
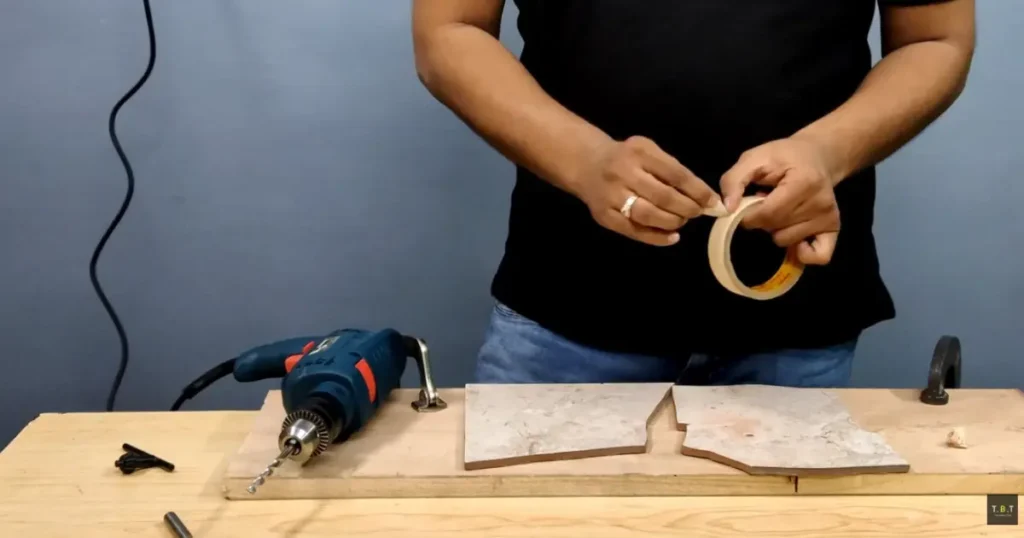
Step 2: Apply Masking Tape
Once you’ve marked the drilling location, apply a piece of masking tape over the mark. The tape provides additional grip for the drill bit and helps prevent it from slipping across the smooth glazed surface of the tile.
This is one of the simplest and most effective tricks for beginners. Without masking tape, the drill bit may wander during the first few seconds of drilling, making it difficult to create an accurate hole.
For even better results, apply two strips of masking tape in a cross pattern and place the drilling mark in the center. This makes the mark easier to see and provides extra control when starting the hole.
After the tape is applied, you’re ready to position the drill bit and begin drilling.
TBT Pro Tip
If you’re using a hammer drill with hammer mode turned OFF, masking tape becomes even more useful because it helps keep the masonry bit centered until a small starter groove is created.
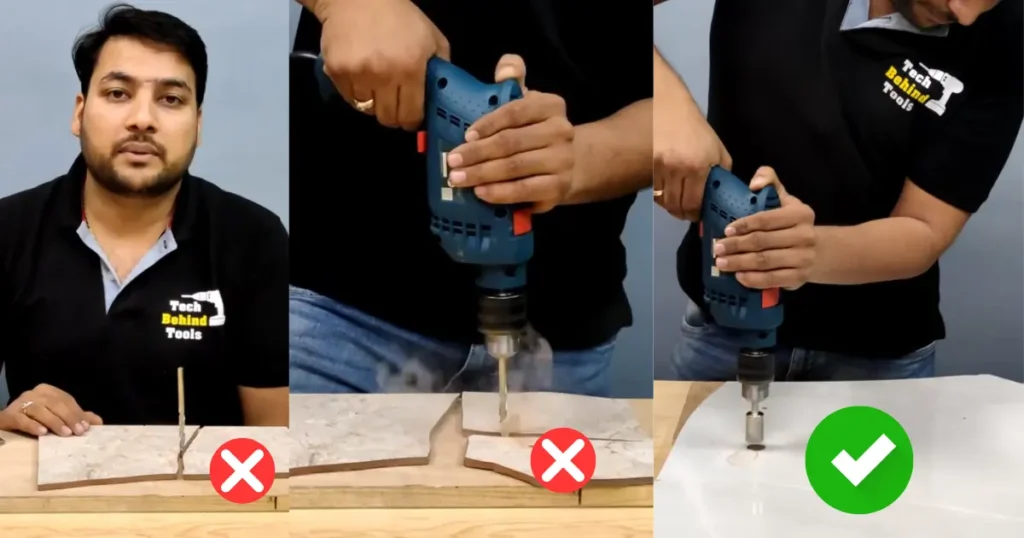
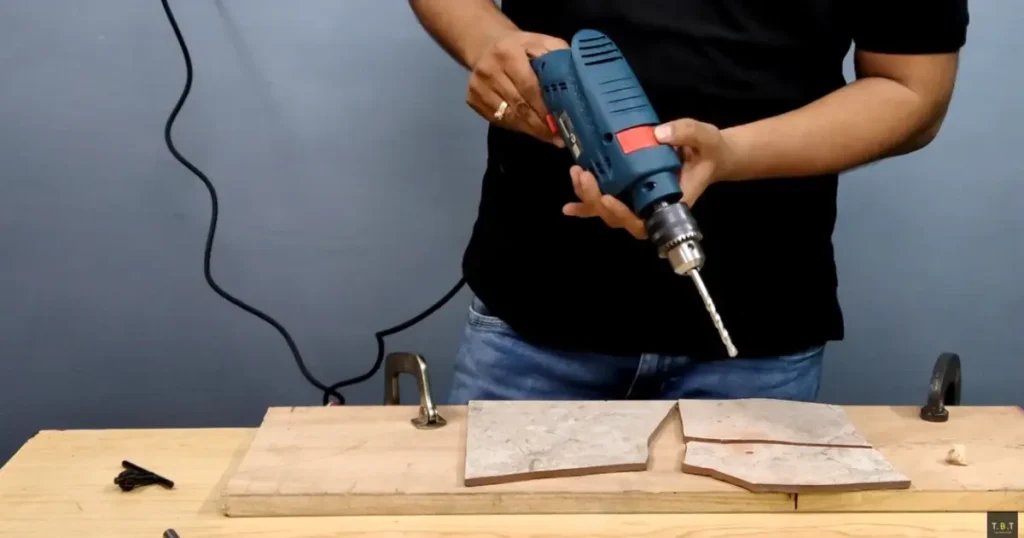
Step 3: Set The Drill Correctly
Before the drill bit touches the tile, make sure your drill is set to the correct mode. This is the most important step in preventing cracked ceramic tiles.
For ceramic tile drilling, always select:
✅ Drill Mode
✅ Screwdriver Mode
Never use:
❌ Hammer Mode
Why This Matters
Many people assume a hammer drill will make the job easier. In reality, most cracked tiles are caused by accidentally drilling in hammer mode rather than by the drill bit itself.
Using standard drill mode allows the masonry bit to grind through the ceramic tile smoothly and with much greater control.
TBT Pro Tip
Before starting the drill, place the bit on the marked location and gently squeeze the trigger at low speed. Creating a small starter groove first will help keep the bit centered and reduce the chance of slipping.
Why Hammer Mode Is Dangerous
Ceramic tiles are hard but brittle. When hammer mode is activated, the drill delivers rapid impact blows in addition to rotation. These impacts can easily crack, chip, or completely break the tile, especially near the edges.
If you’re using a hammer drill, that’s perfectly fine—but ensure the hammer function is switched OFF until you’ve completely passed through the tile surface.
Once the tile has been drilled and the bit reaches the brick or concrete behind it, you can switch to hammer mode if needed to continue drilling into the wall.

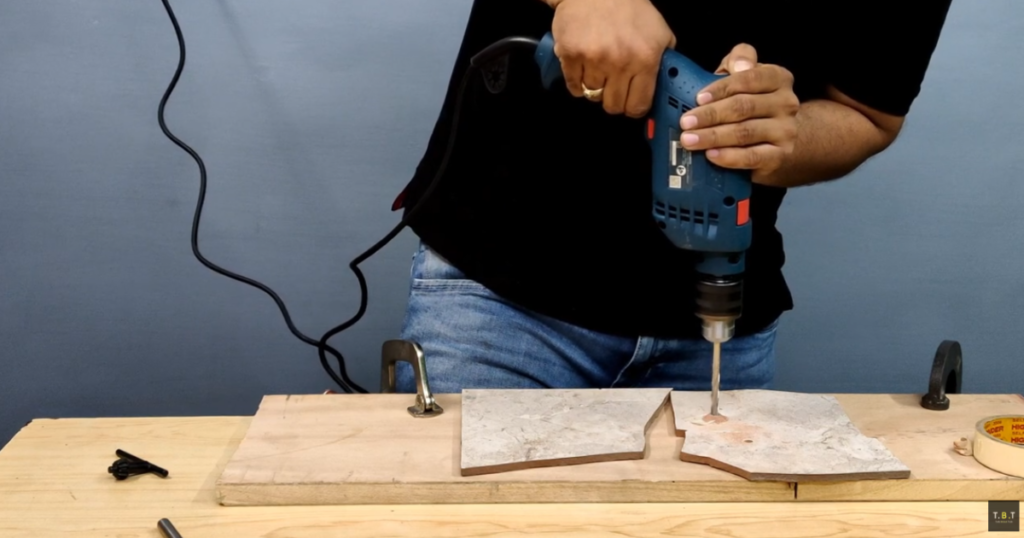
Step 4: Start Slowly
Place the drill bit on the marked location and begin drilling at a low speed. Allow the bit to create a small starter groove before increasing speed slightly. Starting slowly helps prevent slipping and improves accuracy.
Step 5: Apply Light Pressure
Let the drill bit do the work. Apply steady, light pressure while drilling and avoid forcing the bit into the tile. Excessive pressure can cause cracks, chipping, or an uneven hole.
A slow speed and gentle pressure will produce the cleanest results.
Step 6: Continue Through The Tile
Once the drill bit passes through the tile surface, drilling becomes much easier. Continue at a steady speed and maintain control until the hole is complete.
If you’re drilling into a wall, carefully continue through the adhesive layer and into the brick or concrete behind the tile.
Drilling Installed Tiles On A Wall
Drilling ceramic tiles that are already installed on a wall requires a little extra care. Sometimes tiles are not fully supported by adhesive behind them, leaving hollow spots that can increase the risk of cracking.
To avoid damage, start slowly, use light pressure, and make sure hammer mode remains OFF until you’ve completely passed through the tile. If you suspect a hollow area behind the tile, reduce pressure even further and let the drill bit cut gradually.
TBT Pro Tip
Tap the tile gently before drilling. A solid sound usually indicates good support, while a hollow sound may suggest a gap behind the tile where extra caution is needed.
Products We Recommend
- Masonry Drill Bit Set
- Cordless Drill Driver
- Masking Tape
- Diamond Hole Saw Set
- Safety Glasses
Watch Our Video
Want to see the entire process in action?
Watch our step-by-step demonstration on the TechBehindTools YouTube channel where we drill ceramic tiles, compare drill types, and share practical workshop tips.
Related Articles
- How To Drill Glass Without Cracking It
- How To Drill Metal Properly
- How To Change Drill Bits
- Best Drill Bits For Tiles & Masonry
- Corded vs Cordless Drill
- Vitrified Tile Drilling Guide
Affiliate Disclosure
As an Amazon Associate, TechBehindTools may earn from qualifying purchases made through links on this page. This helps support our content and allows us to continue creating tool reviews, comparisons, buying guides, and workshop tutorials.
Subscribe To TechBehindTools
Looking for more practical workshop tips, tool comparisons, product reviews, and real-world demonstrations?
Subscribe to the TechBehindTools YouTube channel and explore our growing collection of how-to guides, buying advice, safety tips, and workshop solutions.


[…] How To Drill Ceramic Tiles Without Cracking Them […]